Eterna-Matic 3000 – Sevenday – Cal. 1501K
Diamond brought me two watches, this fella and this Rolex. The Eterna was working, but, was losing more than a minute per day and it just needed a general cleaning and overhaul. We will also learn down at the bottom of the page, it needed more than a cleaning.
Anyway, just a few close ups to start this post off 🙂

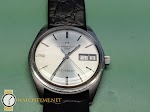


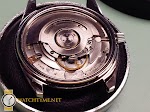
I admit, I’m somewhat of a fan of Eterna watches. Here’s a pic with the case back off and a view of the rotor still on the movement and another shot with the rotor taken off to give us a view of this very handsome timepeice.
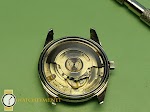

I’ve taken off the automatic assembly and started stripping it down.
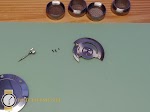
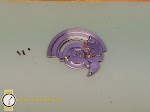
With the movement out of the case, it’s time to take the dial off so we don’t damage it in any way.

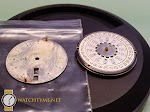
And, with that being done, it’s time to start taking apart the dial side of the watch. We start off with the day and date wheels indicators. In the first photo, you can see the day jumper and spring, pretty nifty eh! With that assembly off, we can now take out the day wheel indicator.
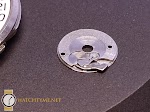

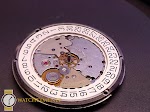
Next to come off is the date jumper bridge and date wheel indicator.
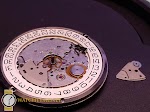
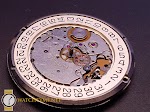
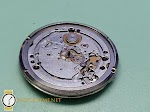
On the dial side, all that is left is the motion works and keyless works.

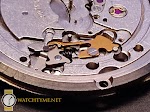
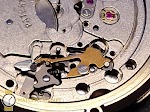
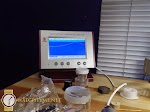
We turn the movement, put it in the time grapher for a comparative later on. We can see, that this watch is losing about 75 seconds per day.


Finally, time to start taking the movement apart. First, we remove the center wheel bridge, followed by the center wheel then rest of the gear train.

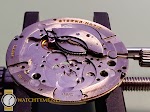
All that is left on the bridge side is the barrel bridge, barrel and the intermediate wheel.
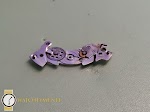
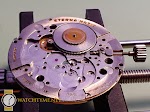
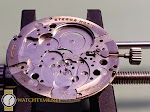
Turn the movement over once again and remove what remains of the keyless works.
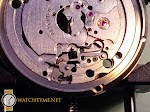
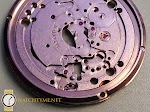
A quick pic of the barrel and mainspring
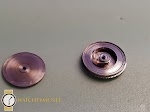
Unfortunately, I only took one picture of the barrel bridge disassembly. Too bad, because it’s rather detailed, hence why I only took one picture, I guess.
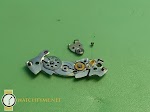
Next, it’s time to take apart the automatic works and reverser gears from the rotor.
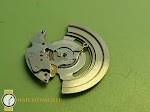
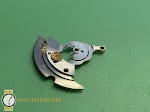

With the case ultrasonically cleaned and crystal receiving a little polishing, and the whole movement gone through the watch cleaning machine, it’s time to get started.

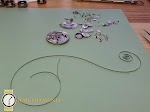
First, I start off with by assembling and oiling all the parts on the barrel bridge,
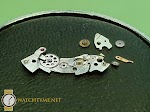
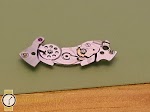
followed by assembling the automatic bridge.
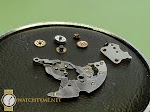

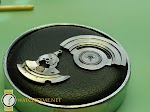
A quick picture with the barrel bridge and automatic works assembled as well as the mainspring back in it’s barrel.
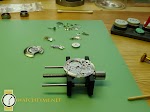
First, I like to start off with assembling the keyless works. This is part of the watch that you use the crown for winding the mainspring and setting the date and time.
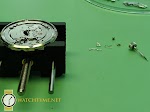
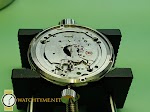
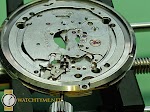
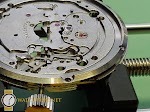

We now turn the movement over…again, and install the barrel, the intermediate wheel and the barrel bridge followed by the rest of the train wheels and their respective ponts (bridges).


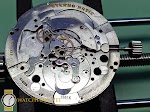
Before reattaching the balance, I must oil the endstones of the balance. Sometimes this can referred as the shock system or incabloc. To do that, I must unhinge the stones on both the top and bottom of the movement, and carefully take the stones out, clean them in a very strong cleaner called one-dip. Then, I use a special oil called Moebelius 9010. Carefully oiling just the center of the stone, and preferably oiling about 2/3 of it, I then must put them back in the movement and again hinging it securely back in place.

Next, we turn the movement over,yet once again, and start assembling the rest of the keyless works, motion works and then the calendar and date wheels.

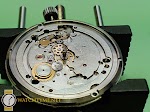
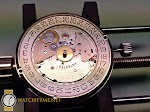

And there you go, the comparative. The amplitude is higher, which will also gain with letting it run. The beat error is perfect as well as the rate, we’re now not gaining nor losing time. And, while I write this post several days later, and with the watch on my automatic watch winder, it’s confirmed, it’s keeping absolutely perfect timing. But, wait, there’s more, much much more.
A couple pics of the finished movement.
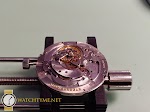
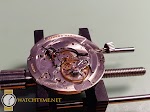
With the watch finally finished, it’s time to put the dial back on, followed by the hands.




Then casing the movement.


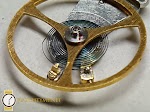
Well now, that can’t be good. After the movement is in the case, the seconds hand completely stopped. Hmmmmm. Time to remove that movement. Obviously, the first thing I look for is the balance, and why it has stopped. The hairspring was cracked off, in other words it wasn’t attached to the balance anymore. At first, I wasn’t sure if it was me who did it when I put it back in the case or if it was already damaged. But, with further inspection, it was definitely wear & tear. We were very lucky on this, because it broke off right at the piton (this is the French word for the part). If it had broken off anywhere else, we would have had to find a new balance and hairspring assembly.
The first part of the job was to remove the broken piece of the hairspring that was still left in the piton. Then, to re-thread the hairspring back in it, then, finally securing it with a brass rod.
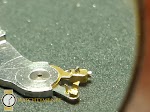
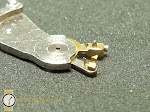

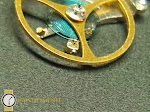
Here’s a few more pictures of the piton finally back on the hairspring
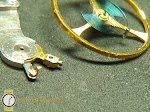
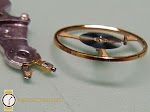

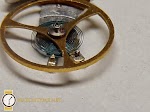
And, finally, it’s back in the movement. And, look at that nice amplitude.
I hope you enjoyed my newest watch service.