Breitling Chronomat – ETA 7750
Hi there, and welcome to my newest edition of servicing a watch. Kristian brought his Brietling Chronomat watch in last week because he wanted it serviced, but, more importantly, the date was stuck between two positions.
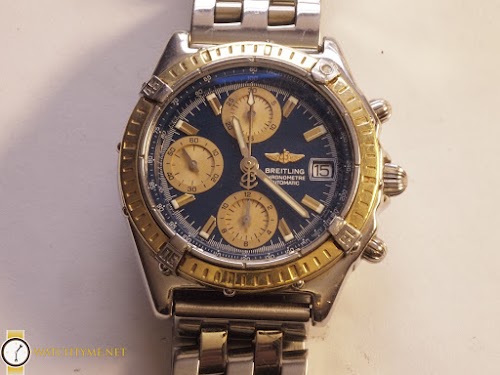
So, let’s get started. Here’s a few pictures of the front before I start


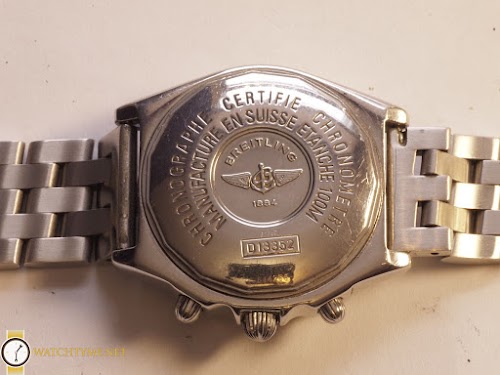
And, a couple of the back

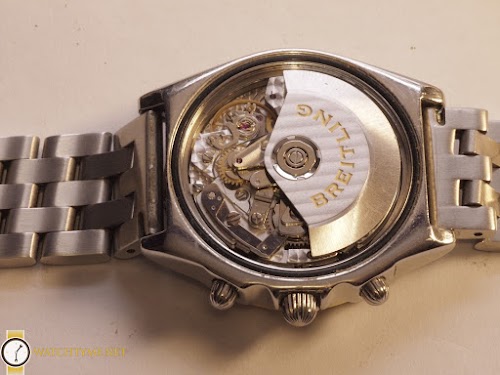
And, last but not least, one of the back with the case back off
May as well put it on the time grapher and see how the Chronomat is doing. Both the beat error and rate are going to need improvement.

With the movement out of the case, I unscrew the 8 screws (not the tabbed ones) off the bezel and gently remove the bezel. When removed, I put the case, bezel, braclet into the ultrasonic cleaner.


Next up, is to remove the hands and dial and securely store them away from dust or anything else for that matter.

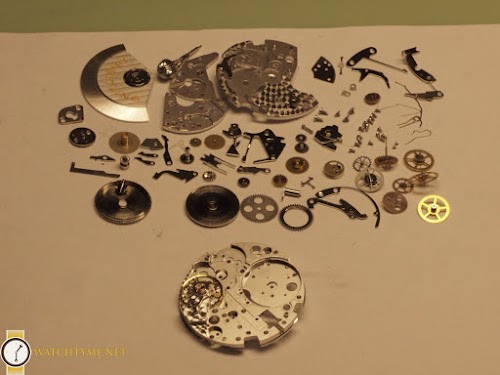
After that, I remove most of the dial side components. Namely the calendar works


Then, turn the movement over to the bridge side

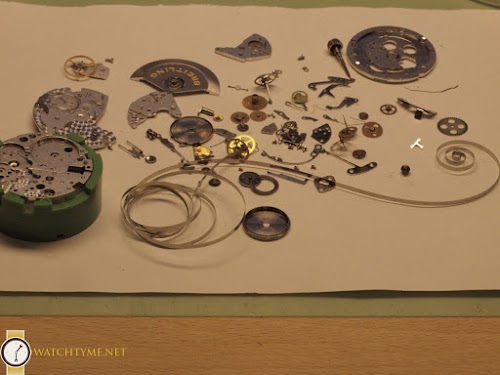
And remove the oscillating weight, automatic bridge, and chronograph components

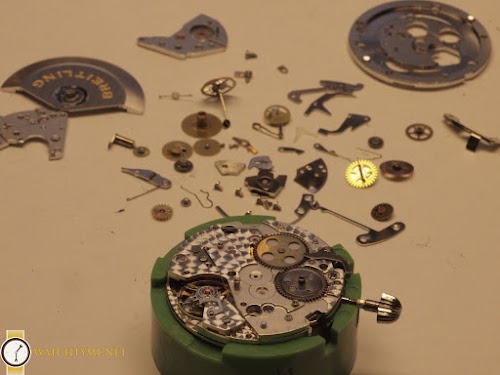

There’s the ETA 7750 in all its glory.
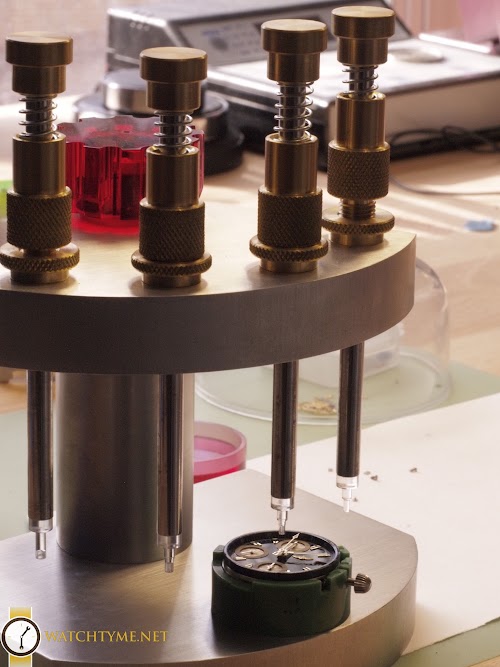
Time to put all the tiny (actually, the parts are rather large on a ETA 7750) in the washing basket and then put it into my watch cleaning machine


Ta-dum, magic 🙂
I like to get all the little tasks out of the way instead of doing them separately. So, I treat the mainspring barrel with some P-125 breaking grease. Treat the reversing gear with Lubeta V-105 and last but not least, treat the escape wheel and pallet stones with epilame. If you’re going to do it, may as well do it right 🙂

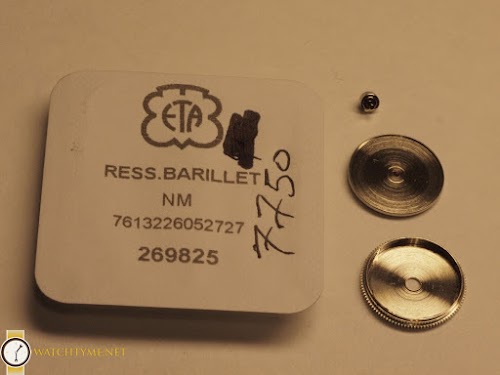
Then, put in a new ETA 7750 mainspring

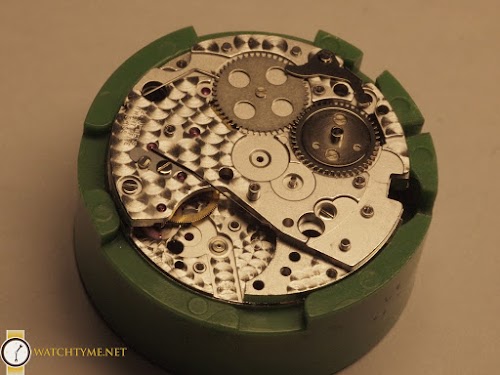
Time for assembly. I re-install the barrel, 2nd, 3rd and escape wheel along with the hacking lever onto the main plate.

After that, I put on the main bridge, ratchet and crown wheels.
Then, I turn the movement over onto the dial-side and install the keyless works.

Again, turning the movement over and start assembling the chronograph parts. I should have, however, regulated the movement. It’s usually better to regulate it before you install the chronograph components. Although, at the end of the day, it really doesn’t matter. It’s just more of a convenience factor. Having said that, the parts I installed are the Hammer Cam Jumper, Chronograph cam, Switch and lock

After assembling those above parts, I need to cover it with the chronograph bridge.


Obviously, I need to work on my photo composition 🙁 But, it’s looking good

After regulating the movement, I continue installing the rest of the chronograph components. Starting with the chronograph wheel followed by the minute counting wheel, clutch, reversing gear and hammer.

And, back to the dial side to finish up the calendar works. Can you see the difference between the two pictures? Try to guess before you read below.


Ok, well, if you’re not a watch repairer, you’ll probably won’t notice it. I accidentally put the date indicator wheel in the day indicator wheel spot. Ooops. Ok, now that that is fixed, it’s time to put on the dial and hands.

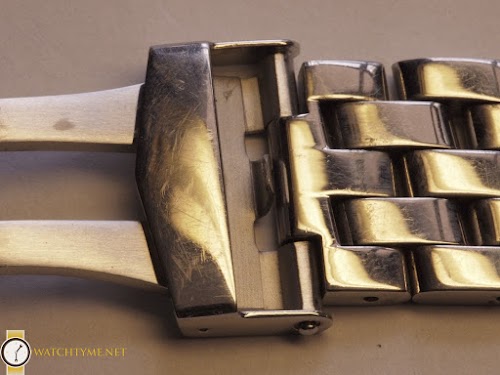
Last, but certainly not least, it’s time to give the case and bracelet an overhaul. Here’s a couple of before pictures


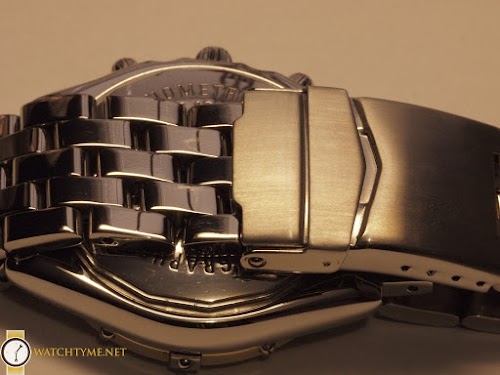
And, here is the after 🙂


Hello pretty 🙂

Well, I hope you enjoyed this as much as I did. Although, I can pretty much guarantee you that it was much more fun for me.
If you have any questions or comments, please feel free to comment below.
Cheers
Chris