Tag Heuer Carrera – ETA 2824-2
If you have been following my posts for the last month or so, you’ll notice I have serviced quite a few watches with the ETA 2824-2 movement. It is my intention to write a post such as this one for every watch that I serviced, as every watch has it’s own story, and story telling is something I enjoy.
Gary dropped by this week because the rotor (weight) on his Tag Heuer Carrera was extremely loose. While quickly examining his Tag, it was clear there were other issues. To start off with, the loose rotor was the least of our problems, as the watch wasn’t working. With a few quick wrist turns the movement would start, then stop. Something was clearly wrong. I unscrewed the crystal case-back, instantly checked to see if it was a broken pivot on the balance, and pleased it was not. Then, I proceeded to hand wind the movement and again, the balance would start, and again stop. This watch clearly needed to be serviced. And, as you see below in my description and accompanying pictures, servicing is what was needed.
Perhaps most won’t know this, but the ETA 2824-2 automatic movement is a very reliable workhorse. And, this particular movement was serviced approximately 4 years ago, and maybe was given, let’s say, too much love.
Alright, let’s get on with the servicing with this handsome timepiece. Just a few pics before we get down to stripping, shall we.


A couple pictures with the case back off.


Next, I remove the movement out of the case, remove the hands then dial.


With the case and band ultrasonically cleaned and put away for safety
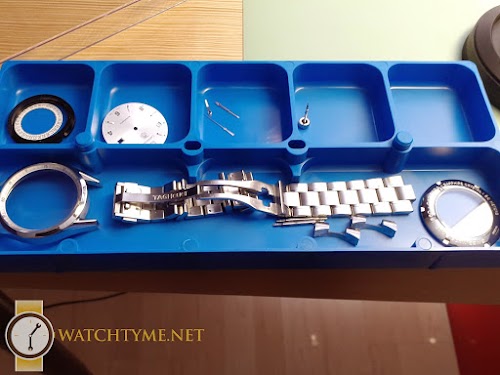
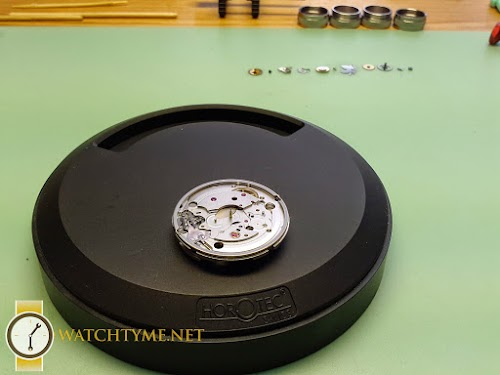
it’s time for dismantling the movement, or demontage in French. First, we start off with the dial side by removing the date wheel (which I didn’t take a pictures of 🙁 ) , but, did include a couple pictures of the calendar works followed by the motion works.


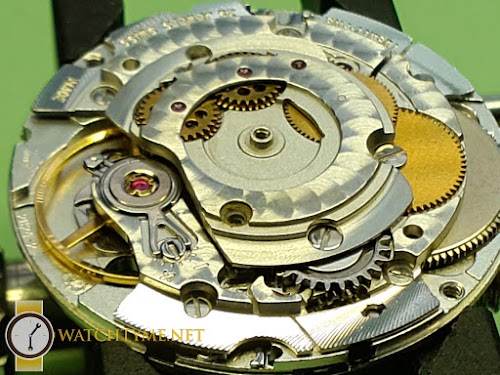
Earlier, I mentioned perhaps too much love. Well, in this next group of pictures, you’ll see exactly what I mean. It’s time to turn the movement over onto the bridge side (opposite of dial side). With the rotor removed, the next most top layer is the automatic bridge. I’ve included 4 images. The first one, you’ll notice the 2 dark or black screws. Most often than not, the automatic bridge will have black screws. In the next image you’ll notice quite an interesting build-up of some hardened resin in one of those screws holes. My first impression was perhaps the thread was ruined in the screw and/or plate, and perhaps the previous watch repairer used an epoxy or glue to hold the automatic bridge to the movement, which, I admit seemed odd.


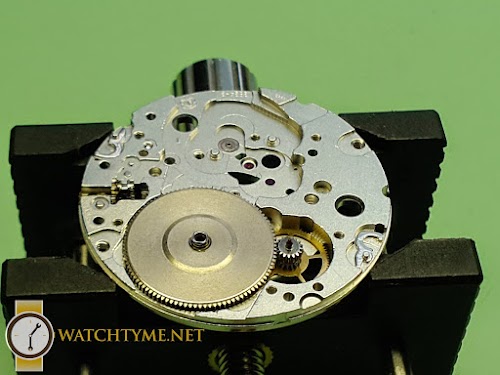
With the automatic bridge removed, it’s time to take off the crown and ratchet wheels, as well as the click and click spring. Unfortunately, you can’t see the last picture clearly, but, there was a pool of oil where the click and click spring were. Next, was to remove the pallets and pallet cock.


Next up, was to remove the train wheel bridge, train wheels and barrel bridge.

Speaking of too much love……….or grease………..or oil 🙁 . This is the mainspring barrel and mainspring.


Just a really bad blurry image of the automatic bridge dismantled.

Then, a dirty unwashed group picture next to the clean washed group pictures 🙂 Think of it as a before and after pic 🙂


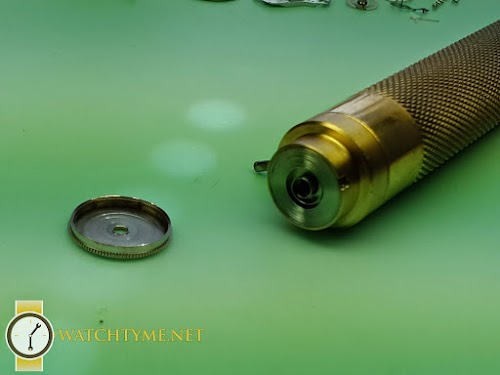
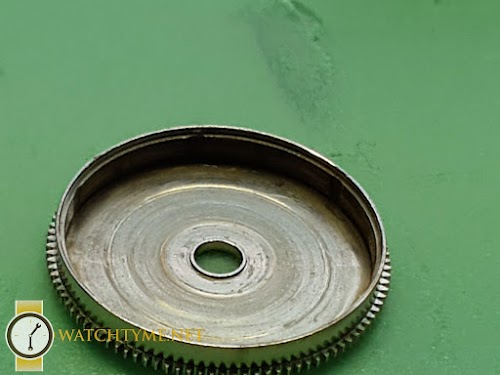
It’s time to put the watch back together. And, we start off with the mainspring. The ETA 2824-2 has a specific barrel to arbor size, and a special Bergeon mainspring winder is needed for the job, as you can see in the first couple pictures, and look at that nice clean barrel ready for the mainspring.


With the barrel and the mainspring job completed, it’s time to start putting everything back together. I start with the keyless works, as mentioned previously, the keyless works is the part of the watch where one winds and sets the date and time.

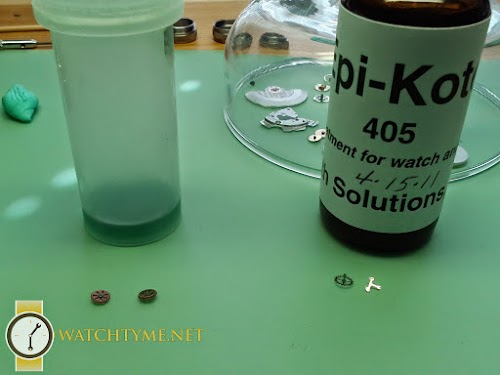
In watch-repairing, there’s a huge difference between just servicing a watch and making sure it’s perfect. There’s a few extra things that a watch repairer can do while servicing a watch that can make an extra “umphff” so it runs smoother and better. Namely, it’s treating the escape wheel and pallets with epilame and treating the reverser gears with a special oil mixture. Epilame is a treatment you apply so that oil doesn’t run.
Next, it’s time to re-install the train bridge and barrel with the newly epilamed escape wheel. Then bridges, followed by the pallets and pallet cock, or bridge.


Alright, time to get back to the automatic bridge. If you recall, I previously mentioned that there was a strange resin while dismantling this bridge before. Well, I was surprised after cleaning the movement that this hard glue like substance was still present. This was one of those cases to get out a stronger cleaning agent called one-dip. Usually one-dip (or new-dip) is used for cleaning dirty or oily hairsprings, in other words, very strong stuff indeed. The one-dip didn’t work unfortunately, so, I had to scrape it all off. The threads for the screw were not stripped, I’m at a loss as to why this epoxy was used.


Next, we turn the movement over again to the dial side and start oiling the pivot holes. I had to put a loupe on my Nexus tablet lens to get a close up of the balance ruby properly oiled. Then, a few pictures of installing the motion work as well as the calendar works.


A couple show-off pics of the dial side.


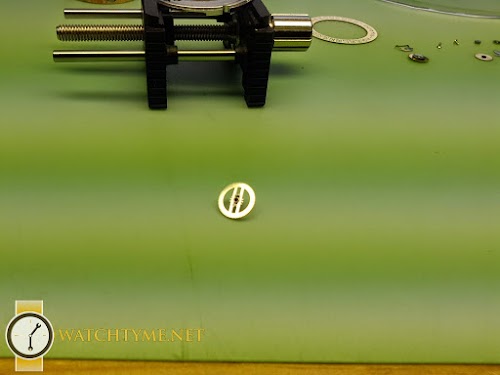
Again, back to the bridge side and install the balance and time to regulate the watch. But, before regulating it, I let it run for approximately an hour, then, I oiled the pallet stones so the epilame can wear off on the pallets and escape wheel. Look at that straight line, not bad timing, eh!


On with the resin-free automatic bridge


Yet again, back to the dial side, reinstall the dial then hands.


Finally, let’s case the movement, install a new case-back gasket, put the rotor back on and oil the bearings, close the back and take a few show-off pics again! And, look, at that, no left over screws, haha 🙂


As always, I hope you enjoyed this post, as it was a pure joy servicing this watch.
Cheers
Chris
August 3, 2016
That was truly fascinating. You have given me confidence that I am placing my beloved watch in great and caring hands. See you Friday.
August 3, 2016
Thank you Ernie, it’s much appreciated 🙂