Breitling 1884
I recently received this Breitling 1884 timepiece to be serviced. Inside, sits a very reliable ETA 2824-2 automatic movement. The owner of this watch had a friend who tried to regulate it, and unfortunately there was an accident, the hairspring was damaged past the point of it being manipulated back to health.

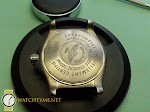
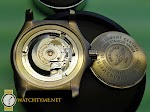
Let’s get to work. First thing first, as always, check to see if everything is functioning as it should. Does the winding mechanism work, is it smooth and are there any grinding or irregular sounds coming from within the case. Does the rapid date change function properly and smoothly, and in the time setting position, can I change the time properly. There are plenty of other checks, such as scratches and dings on the crystal as well as the case, is the band or bracelet attached to the case properly, are the hands properly aligned etc… The next step is to remove the movement from the case. In this particular case, it’s a screw-on back. And, special dies are needed to remove the back. In the next few pictures, you can see the case back unscrewed, as well you can see the case mounting screws still attached to the case and finally, the movement out of the case. Important Note : when removing the stem from an ETA 2824-2, always remember to pull out the crown till the time setting mode (ie, 3rd position).

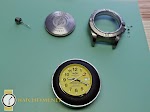
A couple “Look at me” pics of the dial and huge crown 🙂
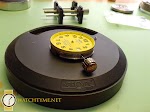
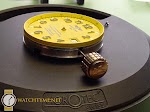
Next, off with the dial and a quick look at the back, while we’re at it. Finally, let’s put the dial and strap away for protection.
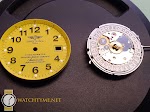
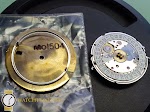
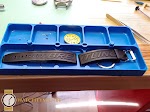
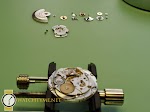
Time to mount into the movement holder, remove the Rotor for protection sake and start removing the calendar, motion and keyless works.
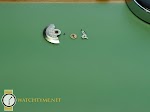
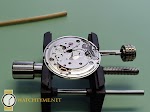
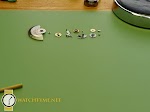
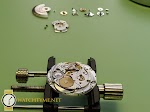
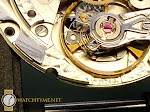
A few close-ups of the damaged hairspring, which by the way couldn’t be manipulated. So, I ended up having to order a new balance / hairspring assembly.

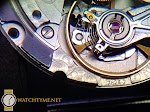
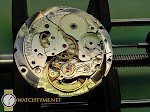
A few pictures of the disassembly.

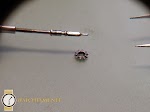
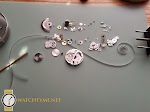

Here’s a shot of the mainspring with the barrel cover off.

With the movement cleaned, it’s time to start assembly. I started by assembling the keyless works. If you’re wondering what “keyless works” is. It’s the section of the watch that is used to wind the mainspring, set the date and time. The phrase “keyless works” comes from the days when actual keys were used to wind the mainspring.
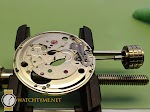
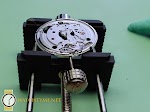
Next up, is the going train, or gear train. This consists of the wheels that make your watch work. Usually, they consist of a first; center; third; fourth and escape wheel. Starting with the Rolex I serviced recently, I will always epilame the escape wheel as well as the pallets. Long story short, Epilame is a treatment that you apply to an area so the oil you apply their will not run.
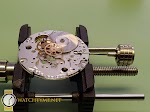
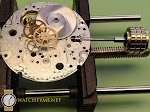
Next, I install the gear train bridge carefully, so as to not damage any of the pivots. Then, the balance hack, or balance stop (a feature that stops the balance from turning, in turn stops the watch so you can set the time) which operates when you fully pull out the crown. And, of course, the barrel which houses the mainspring.
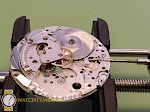
Next to go on, are the click and click spring, crown and ratchet wheels followed by the pallets and pallet bridge.
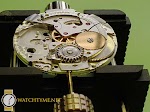
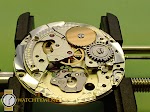
On with the new hairspring and balance assembly to the balance bridge.
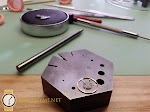
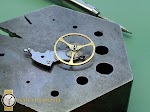
Unfortunately, I didn’t take a lot of pictures assembling the motion, keyless and calendar works. So, here’s a few close-ups to make up for it 🙁
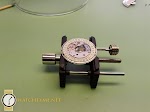
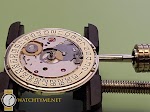
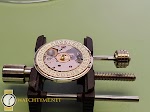
The dial is finally attached to the movement, then the hands individually added. Starting with the hour, minute and finally the seconds hand.
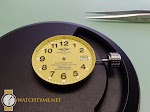
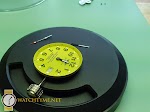

Finally, time to put the movement back in it’s place, the case! I always prefer to put the automatic Rotor on last while in the case.
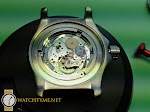
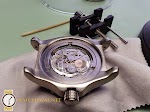
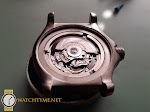
A few pictures of the Breitling watch, cleansed, oiled and regulated in the case.


And, as always, testing the watch to make sure it’s keeping time properly and to make sure that the automatic mechanism is functioning as it should.
I hope you enjoyed some of the steps that are always employed in my watch service.
Thank you